.png)
Project QUILTING Measure Up Challenge–Dresden Neighborhood Quilt
- Classic Sites
- May 30, 2014
- 2 min read


I can’t believe I did it! I finished a quilt for the Project QUILTING ‘Can You Measure Up?’ Challenge (and my May Lovely Year of Finishes Goal). Whew! It was a CRAZY busy month and I had even less time in my sewing room than I thought I would – super glad I combined tasks. This quilt actually helped me cover three obligations – you can also find out how to make your very own ‘Dresden Neighborhood’ by checking out my tutorial here!
I have made a few dresden plates in the past but never with a ruler before. I highly recommend the ruler and I’m glad I finally pulled mine out of the package!
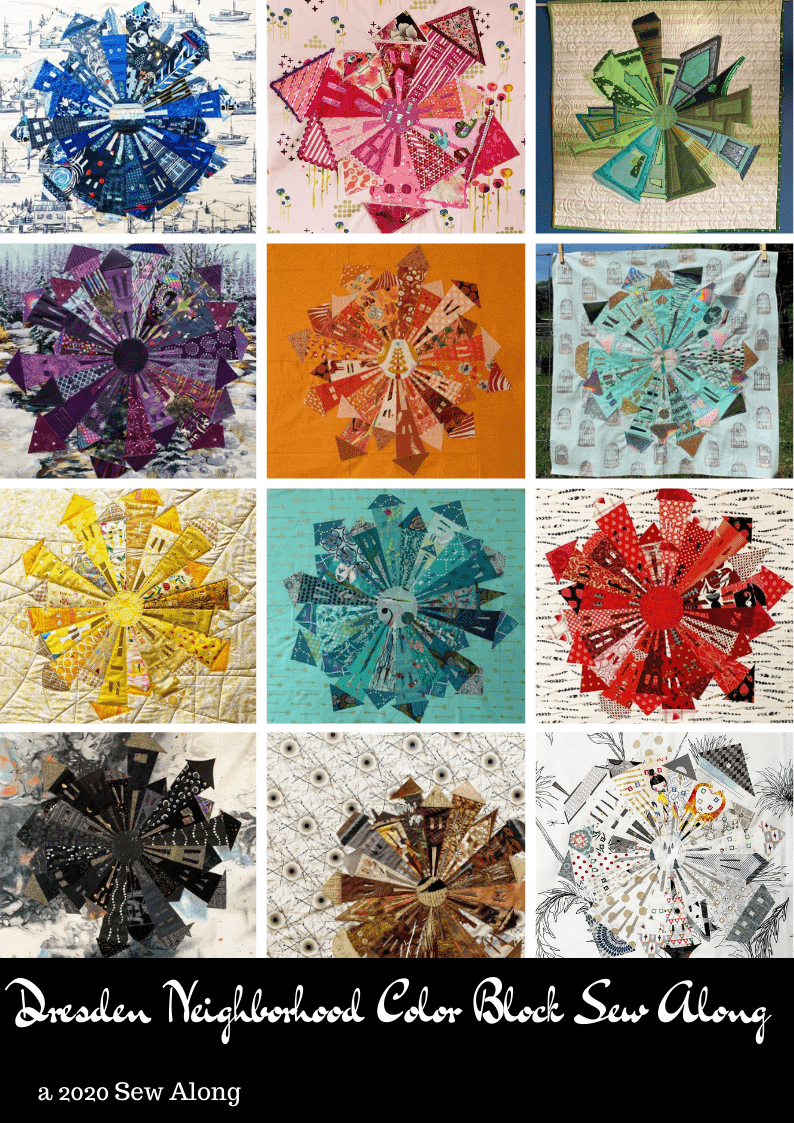
First, I put together the Dresden Neighborhood block. It’s a 24” square block finished – definitely big enough for a mini quilt. I considered putting borders on it…but then decided there is plenty going on already and it would be cute on it’s own.
I loaded it onto my quilting frame and used my Janome 1600P to free motion quilt this piece. The main reason I purchased my frame was so I could do projects like this – not the big ones. Now I just have remember that! AND it loaded on really fast!
I’ve found that my 1600P likes to free motion quilt with Superior Bottom Line in the bobbin and Aurifil thread in the tope. This beautiful variegated green thread is from Tula Pink’s Aurifil box! I was able to add it to my collection when I saw that the Fat Quarter Shop was having a 24 hour flash sale on Aurifil a few weekends ago! (by the way – best box other…super jam packed with variegated threads – my favorite’s!)
The hardest thing about using my frame to quilt is I have a pretty small ‘throat’ for moving…so I have to roll it fairly frequently. This quilt, just 24”, took 5 different ‘rolls’ so I could get the patterns I desired. BUT – it did work out fabulously – so no real complaints here.
I did tight quilting all over this piece. I did quilt on all the houses as well and looking back I would do it differently next time. Definitely still tight quilting in the background but instead of quilting the houses, I would just do some rough outlining of them so they poof out from the quilt but keep the whimsical feel. I was just having so much fun on my frame that I couldn’t help myself!
Once the quilt was ready for the binding I decided to add a thin lip of orange fabric and bind in grey. Just a little pop of orange really made a difference.
I backed the quilt with a city print on white. I liked that it brought the ‘neighborhood’ concept to the back as well.
And – voila! Here is the finished quilt!
With that…
May Project QUILTING Challenge – CHECK New block tutorial for ’52 Blocks: Twisted Tradition Quilt Along’ – CHECK May ‘A Lovely Year of Finishes’ Goal – CHECK
Three tasks complete! I’m ready for June!


Comments