.png)
The Balloon Quilt–Vintage Reimagined
- Mar 31, 2019
- 5 min read
I failed. I don’t fail at challenges very often but this month I failed. I took on a project that was just too much for me to finish properly in the month of March that I had and I failed. But – even though I failed, I’m not going to give up! This quilt is going to be finished as soon as I possibly can in the meantime you can see how far I did get.
As an Island Batik Ambassador, I have been provided with some of the items mentioned in this post, including Island Batik fabric, Aurifil Thread, and Hobbs Batting!
Each month, Island Batik gives its ambassadors a challenge to complete.
The challenge:
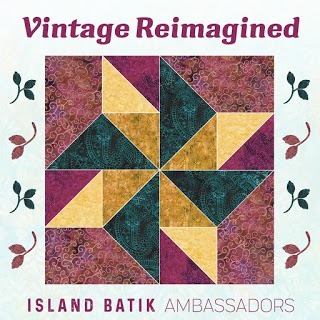
Vintage Reimagined is the Challenge for March!
Do you have a beloved quilt from a great grandmother, a thrifted vintage find or a memory of a quilt that you adore? Take something from the past and give it a personal touch that is yours. Inspiration can come from anywhere!
I don’t have a lot of vintage things around so I decided to go searching pinterest. I found this amazing “balloon” quilt that Sam Hunter took photos of at the Latimer Quilt and Textile Center. (be sure to click this link to see the inspiration!) I knew right away that was the quilt I wanted to make!

I was going to tweak it a bit but not too much – it is so cool just the way it is that maybe just a little “freshening” up would be nice.

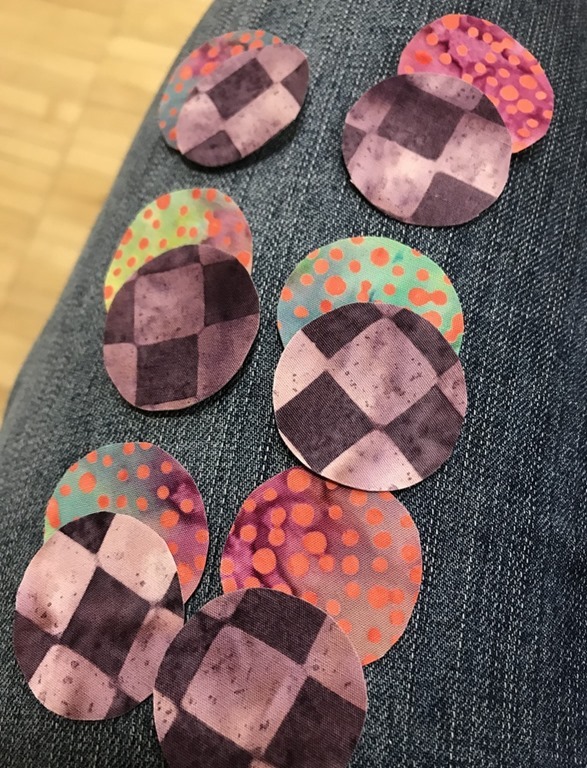
I started by fusing some squares of heat n bond lite to 23 different scraps of Island Batik fabrics (there are 23 balloons in each bundle in the original quilt). I used a vintage wooden spool as my template, traced around that and cut out sets of 23 circles.
This was a feat in itself and I brought it along to the girls’ practices to get it finished up.
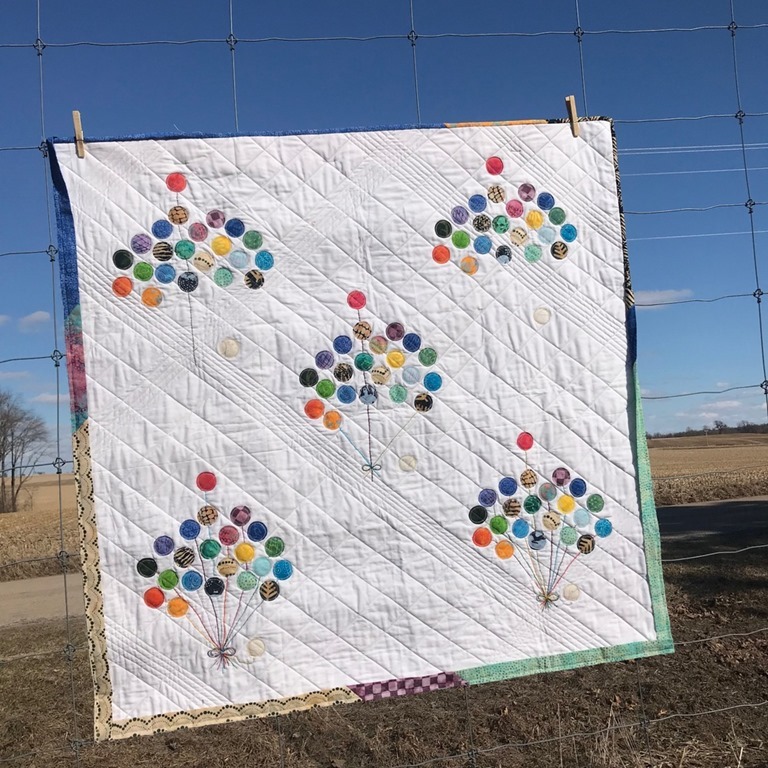
Then it was time to figure out a layout. I decided to stick to pretty much to the original design and tweaked the method of applying the circles and a bit of the quilting.
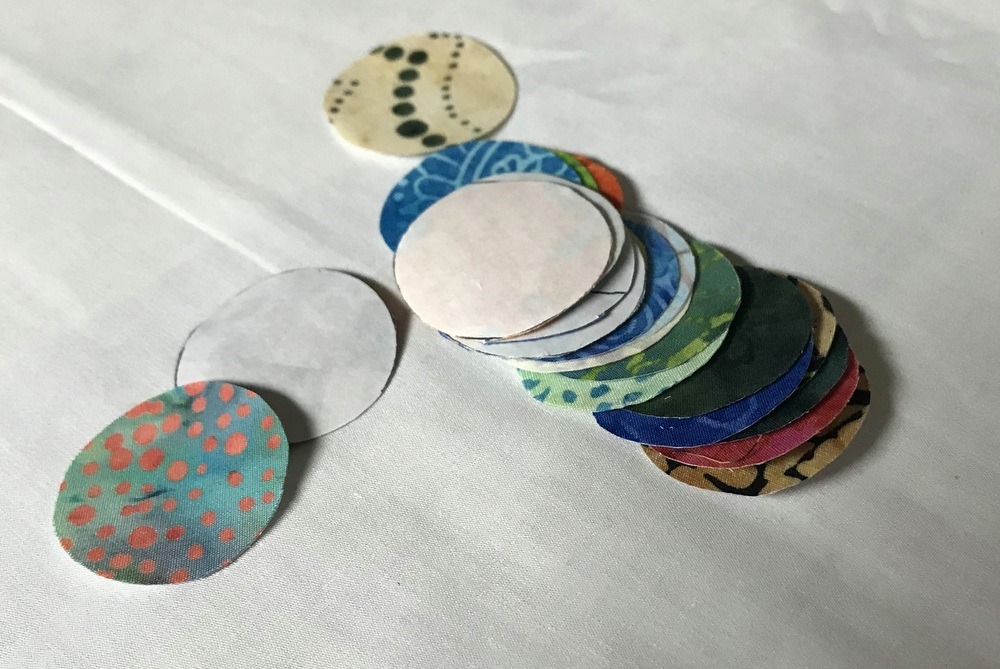
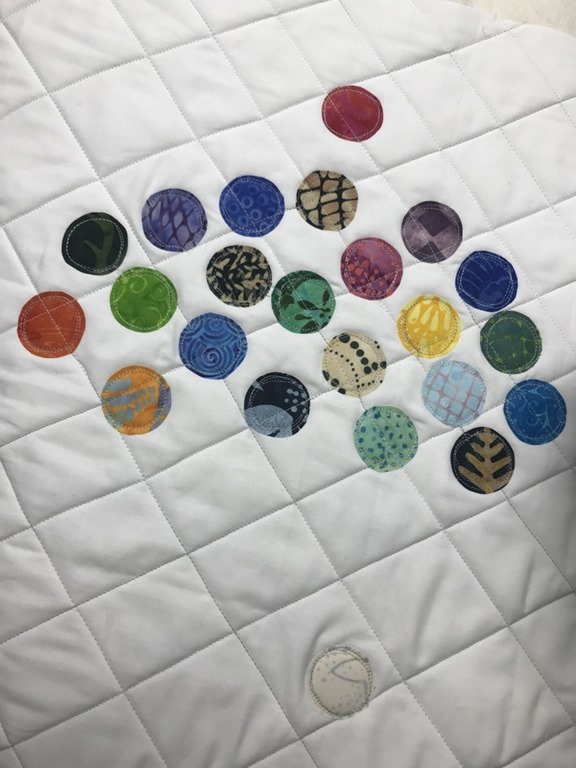
I peeled off the paper backing and laid out the circles in the balloon layout on the solid white Island Batik fabric. If you’ve never felt this fabric before – do it now! It’s like touching butter – so smooth an amazing! I’m sort of bummed that there are only three colors so far (white, grey and black).
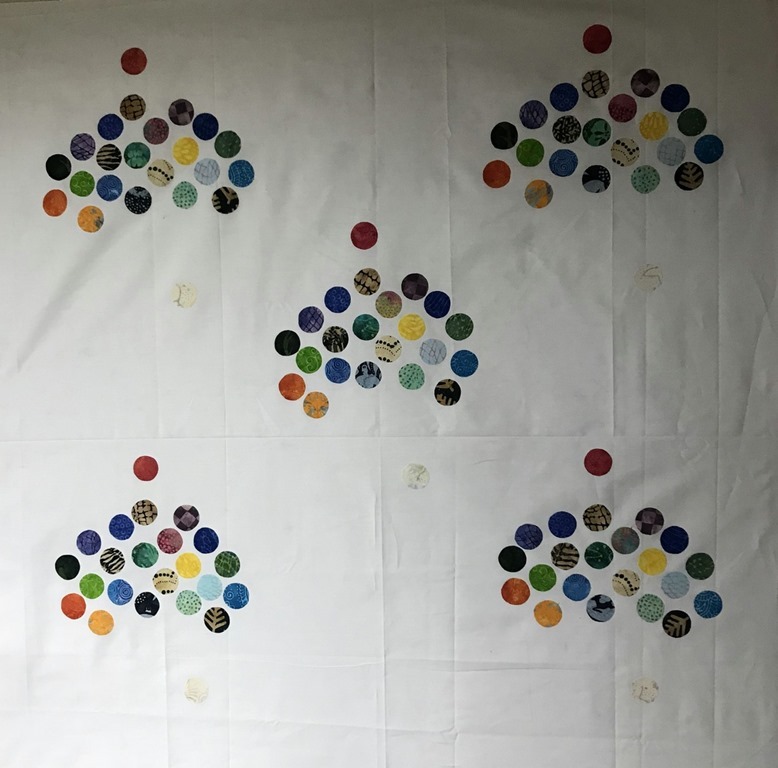
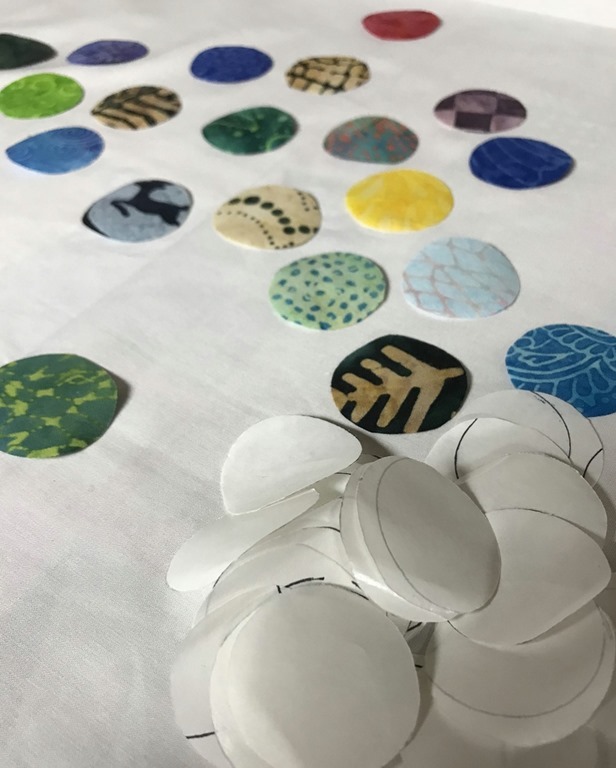
Once all the circles were fused down, this is what my quilt looked like.
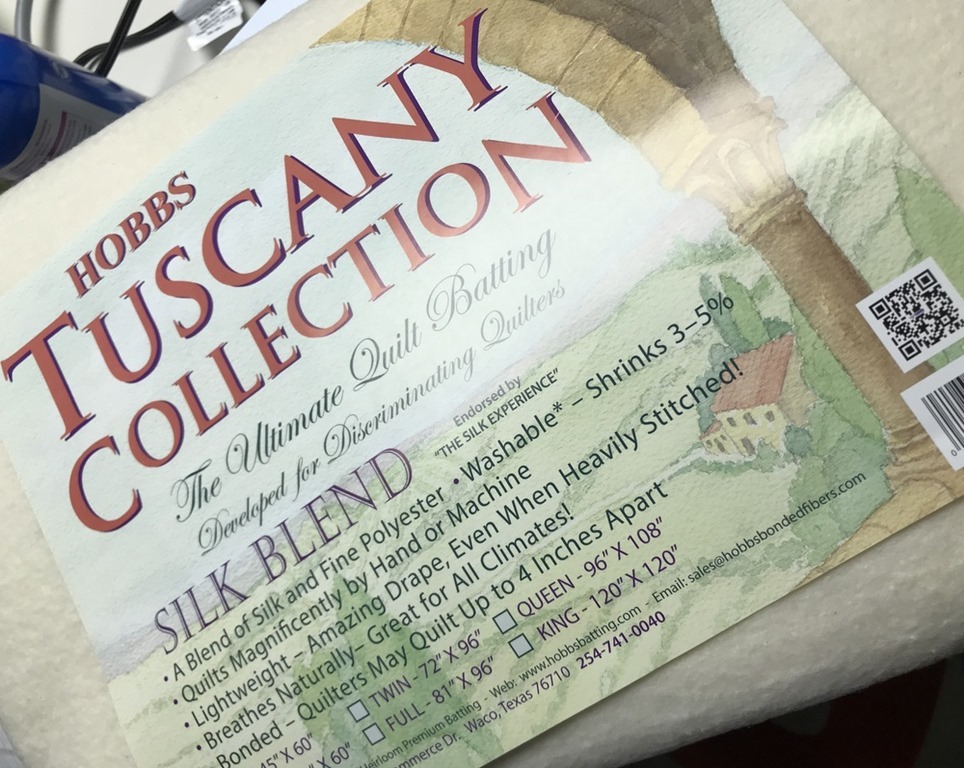
I put the top, then a layer of Hobbs Tuscany Collection – Silk Blend batting, and a bottom layer of white solid Island Batik Fabric.
PS – this batting is AMAZING to work with! it worked great for machine quilting and it’s been easy to hand sew through too!
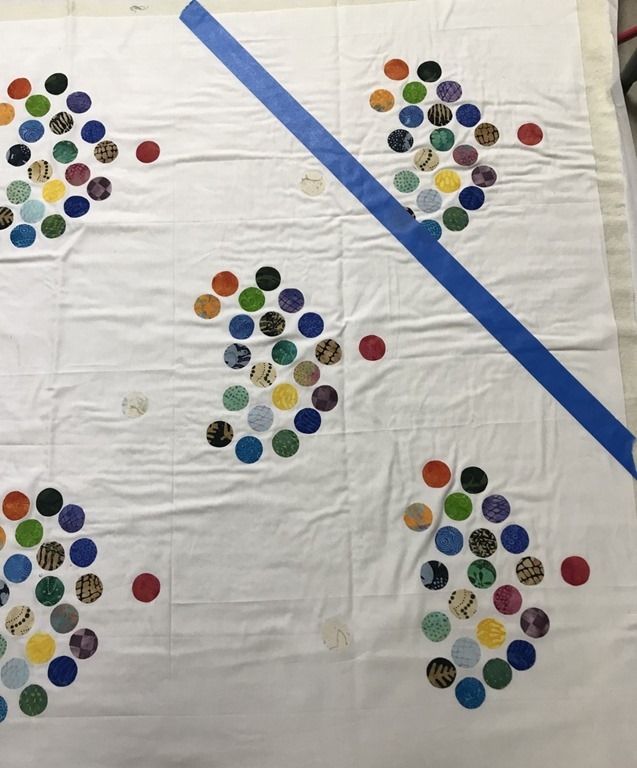
Once the three layers were spray basted together I pulled out my painters tape to create a marking line for my first quilting lines. I’ve seen others post pictures of doing this and talking about it but I had never tried it – it worked like magic! I used the painters tape to create the first straight lines in each direction of my cross hatched quilting.
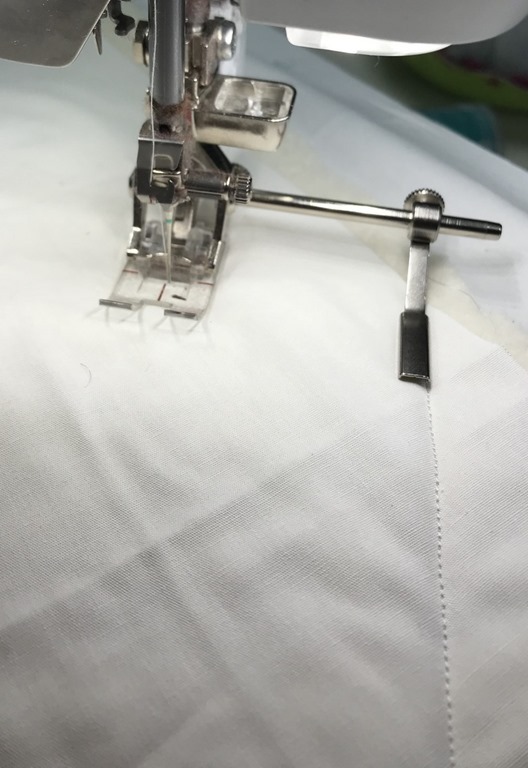
Once I had my first lines down I used the extended foot guide to create a wide cross hatch pattern. In an attempt to reimagine this quilt a bit … the cross hatching varies as it goes across the quilt … some of it wide and some of it closer together.

I chose to quilt with Aurifil wt 50, color 4060 thread – a beautiful white and grey variegated thread.
Once the main quilt was stitched down, I free motion quilted around each of the fused circles.
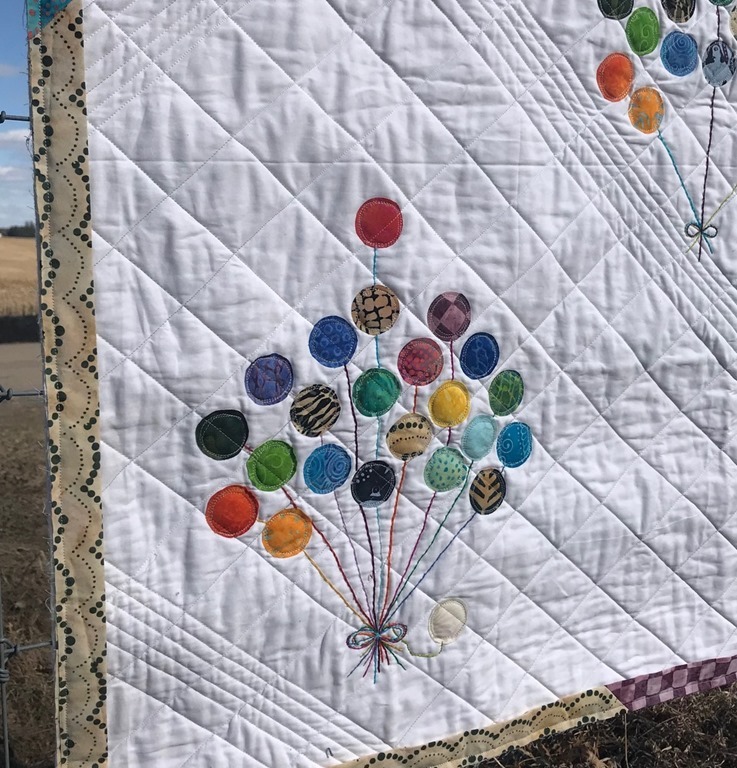
Now came the time consuming part. I knew I could use the machine and quilt in the balloon strings and this would get done a lot faster. But I thought it would look better to embrace at least part of the hand sewn part of the quilt.
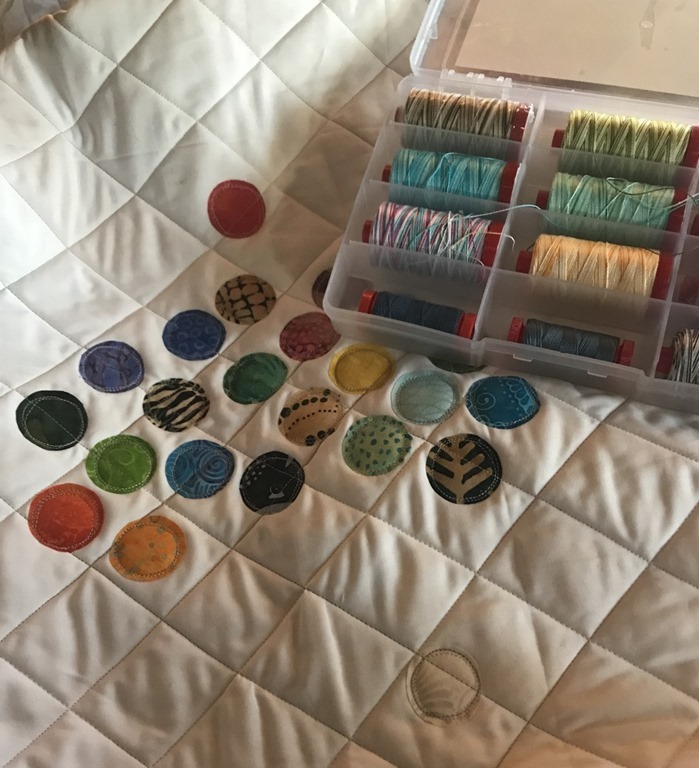
I decided to hand stitch the strings on the balloons using aurifil 12 wt thread, aurifil 12 wt wool thread and aurifil floss.
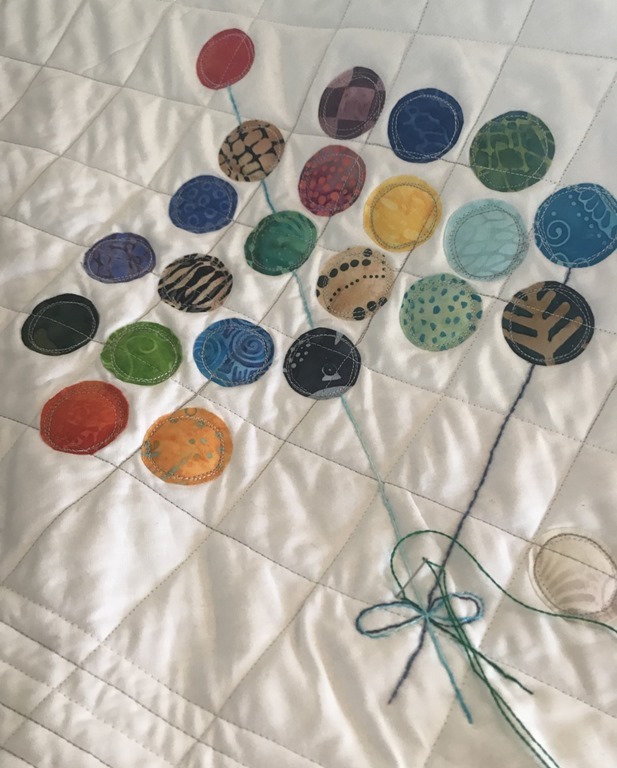
After spending a full day purely stitching on this … I had one balloon bunch down. I realized at this point I had bitten off more than I could chew. I was determined to still try to finish by the deadline but I have to admit – I completely failed.
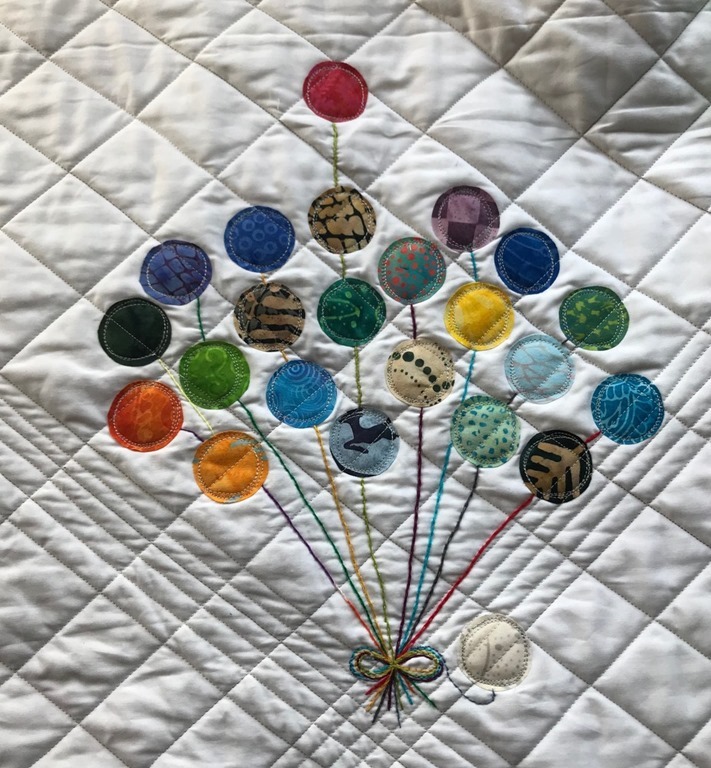
Since today is the day the project is due though, here is where I am at. I have about a quarter of the binding hand stitched down.
The strings completely stitched on two balloon bundles and I’ve started stitching the strings on two of the others. The final bundle is completely missing its string.

I thought I would accomplish a lot of stitching at my girls’ basketball game but it turns out its really hard to keep my lines straight while sitting on the bleachers.
I refuse to give up and this quilt will be finished in a reasonable amount of time. I would love to say tomorrow but I know that’s also not possible so my hopes at the moment is either Wednesday night before I have to leave to teach for the weekend. I will post an update picture of my FINISHED quilt as soon as I possibly can!
Not everyone failed though …
There are some pretty amazing quilts from the other Island Batik Ambassadors this month! Check them out!
Carolina Asmussen ~Carolina Asmussen
Gene Black ~ Gene Black
Pamela Boatright ~ Pamela Quilts
Connie K Campbell ~ Freemotion by the River
Anja Clyke ~ Anja Quilts
Tina Dillard ~ Quilting Affection Designs
Becca Fenstermaker ~Pretty Piney
Jennifer Fulton ~ Inquiring Quilter
Barbara Gaddy ~ Bejeweled Quilts by Barb
Dione Gardner-Stephen ~ Clever Chameleon
Sarah Goer ~ Sarah Goer Quilts
Vasudha Govindan ~ Storied Quilts
Lori Haase ~ Dakota City Quilter II
Joanne Hart ~ Unicornharts
Mania (Magdalini) Hatziioannidi ~ Mania for Quilts
Carla Henton ~ Create in the Sticks
Stephanie Jacobson ~ Steph Jacobson Designs
Connie Kauffman ~ Kauffman Designs
Lisa ~ Lisa Lisa and the Quilt Jam
Joan Kawano ~ Moosestash Quilting
Kim Lapacek ~ Persimon Dreams
Emily Leachman ~ The Darling Dogwood
Leanne Parsons ~ Devoted Quilter
Bea Lee ~ BeaQuilter
Toby Lischko ~ Gateway Quilts & Stuff
Bill Locke ~ Studio Bill Locke
Denise Looney ~ For the Love of Geese
Leah Malasky ~ Quilted Delights
Sally Manke ~ Sally Manke
Maryellen McAuliffe ~ Mary Mack’s Blog
Kathleen McCormick ~ KathleenMcCormick
Carol Moellers ~ Carol Moellers Designs
Karen Neary ~ Sew Karen-ly Created
Jackie O’Brien ~ If These Threads Could Talk
Laura Piland ~ Slice of Pi Quilts
Michelle Roberts ~ Creative Blonde
Vicki Schlimmer ~ Vicki’s Crafts and Quilting
Gail Sheppard ~ Quilting Gail
Sherry Shish ~ Powered by Quilting
Anita Skjellanger , Quilt in a not-Shell
Laticia “Tish” Stemple ~ Tish’s Adventures in Wonderland
Jennifer Strauser ~ Dizzy Quilter
Jennifer Thomas ~ Curlicue Creations
Terri Vanden Bosch ~ Lizard Creek Quilts
Alison Vermilya ~ Little Bunny Quilts
Sandra Walker ~ mmm! quilts
Suzy Webster ~ Adventerous Applique and Quilting
(Debora) Anne Weins ~ Sweetgrass Creative Designs
Geraldine Wilkins ~ Living Water Quilter
Janet Yamamoto ~ Whispers of Yore
~|~|~|~
affiliate ad

~|~
from: Bluprint


Comments